

Good deck lighting helps you see where you are walking without shining straight into your eyes. A neat deck and step light installation starts with the light placement, cable route and power source before anyone picks up a drill.
This guide is for planning and fitting a manufacturer-designed, extra-low-voltage plug-in kit where its instructions and local requirements permit user installation. It does not cover hardwired lighting, new power points, mains connections or pool and spa lighting.
Step 1: decide what needs light
Walk around the deck after dark and identify the changes in level, step edges and approaches that need better visibility. Think about people arriving from the garden as well as those leaving the house.
Separate useful walking light from decorative effects. A row of bright dots can look attractive while leaving a tread in shadow. Aim for a layout that reveals the surface and edges without creating glare. Check the proposed position from a seated chair and from the bottom of the steps.
Do not rely on a generic spacing rule. The fitting’s beam shape, mounting height, step dimensions and surrounding surfaces all affect the result. Use the manufacturer’s layout guidance and trial the arrangement before making permanent holes.
Step 2: choose an appropriate kit
Confirm the voltage and output type across the complete kit. Lights, supply, cables and controllers must work together. A 12V AC fitting and a 12V DC-only fitting are not automatically interchangeable.
Check that each fitting is intended for its mounting position. A recessed deck fitting may need a specific cut-out, drainage and clearance below the surface. A step light designed for a vertical riser may not be suitable for installation in a horizontal walking surface.
If people will step on a fitting, confirm the manufacturer’s load rating. Check weather exposure, corrosion suitability and any limitations for coastal sites. Choose a colour temperature consistently across the project so replacements and extensions do not look noticeably different.
Step 3: confirm the power source and load
Add up the wattage of every fitting and check the kit’s maximum supported load, cable length and number of lights. Include the limits of any controller or distributor, not only the supply rating.
Choose an accessible location for the supply that meets its mounting, ventilation and weather-protection instructions. A waterproof-looking box is not evidence that the whole installation can sit in standing water.
If the project needs a new outdoor power point or a hardwired connection, arrange a licensed electrician. Do not modify plugs or open the mains side of a power supply. Queensland’s Electrical Safety Office provides guidance on using licensed electrical contractors.
Step 4: plan the cable route
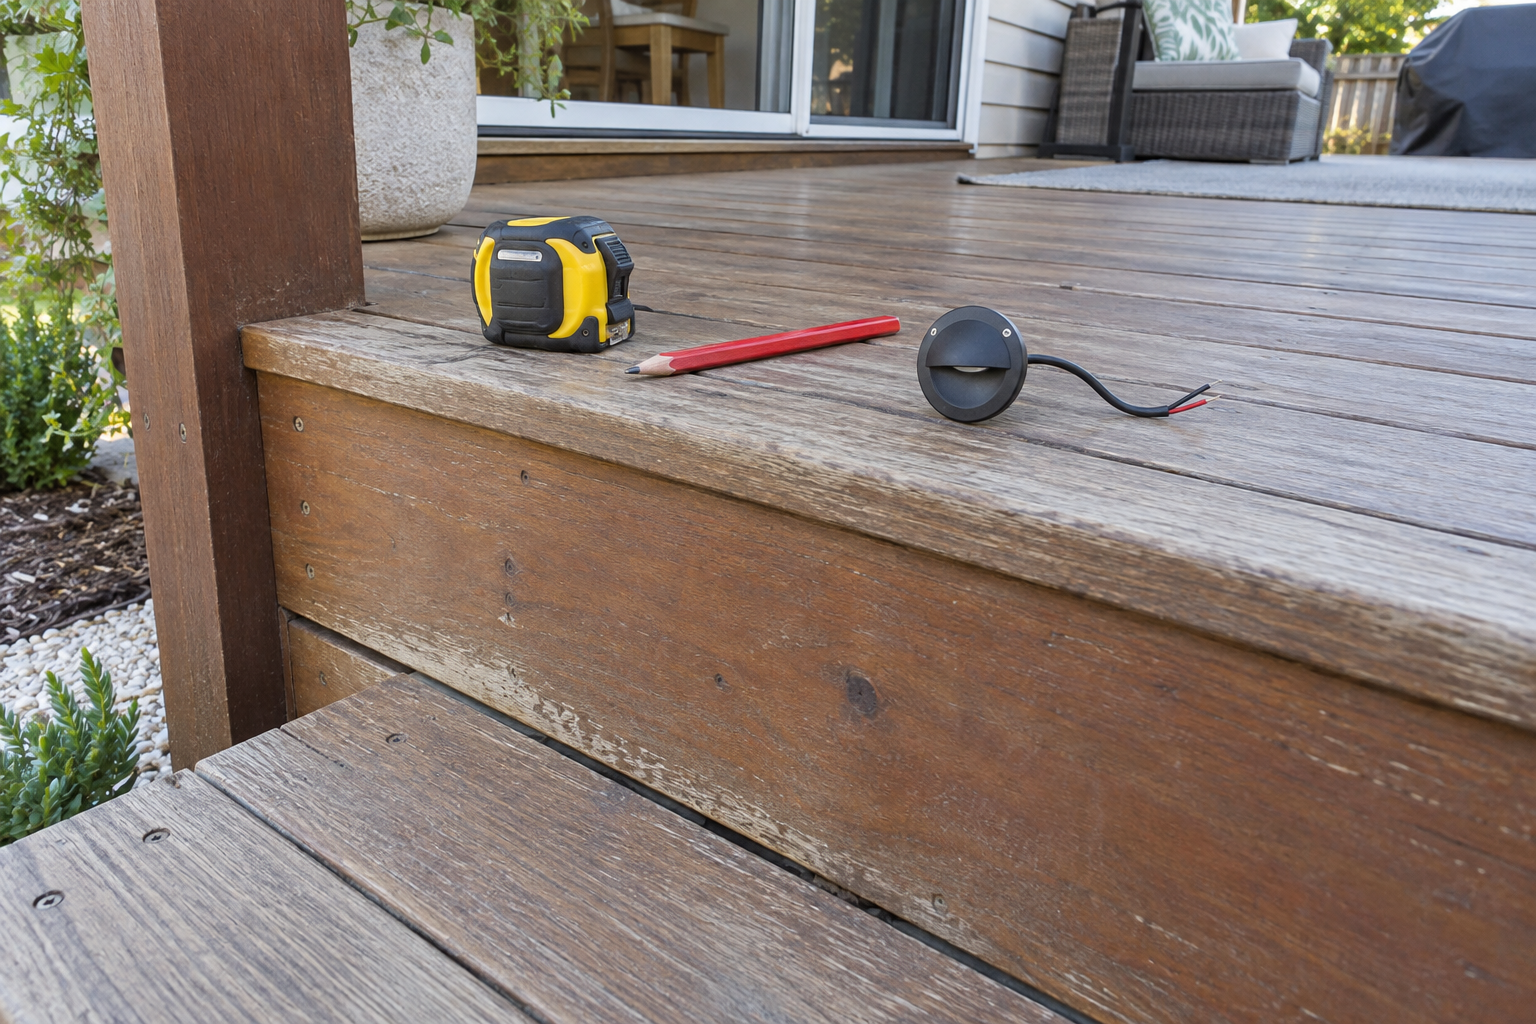
Measure the actual route from the supply to each fitting. Include rises, bends and the extra distance needed to reach connectors comfortably. Check voltage drop and the manufacturer’s maximum run length before buying extension cables.
Inspect access below the deck. Keep cables away from sharp edges, pinch points, moving parts and places where future screws could damage them. Use the specified supports and protection; do not leave loose loops where people or equipment can catch them.
Keep connectors accessible for inspection and replacement. Only bury cables or joints if they are specifically designed and installed for that use. A sealed light does not automatically make every connection on its lead suitable for burial.
Step 5: lay out and trial the lights
With the kit disconnected, arrange the components in their intended positions and check that all cables reach without strain. Assemble the permitted plug-in connections as instructed, then briefly test the complete kit in a safe temporary arrangement.
For LED strip, follow any instruction to unroll it before powering. Do not operate a high-output strip tightly coiled. Keep temporary cables away from the walking route, and disconnect the supply before changing the arrangement.
Assess the light after dark. Look for bright spots, dark tread edges and glare towards windows or neighbours. Adjust the layout while it is still easy to change. A small shift in position can make more difference than choosing a higher-wattage light.
Step 6: mark the positions and check before drilling
Disconnect the kit from its power source. Mark each location using the actual product template and specified cut-out. Check behind and below the surface for cables, pipes, fixings and structural members.
Do not drill or notch joists, stringers or other structural parts simply to hide a light. If the proposed position affects the structure or you cannot inspect the other side, get suitable trade advice before proceeding.
Use the correct tools and protective equipment for the deck material. Follow the manufacturer’s instructions for clearances, fixings and any permitted sealing products. Do not improvise a cut-out size from the visible face diameter.
Step 7: fit and connect according to the instructions
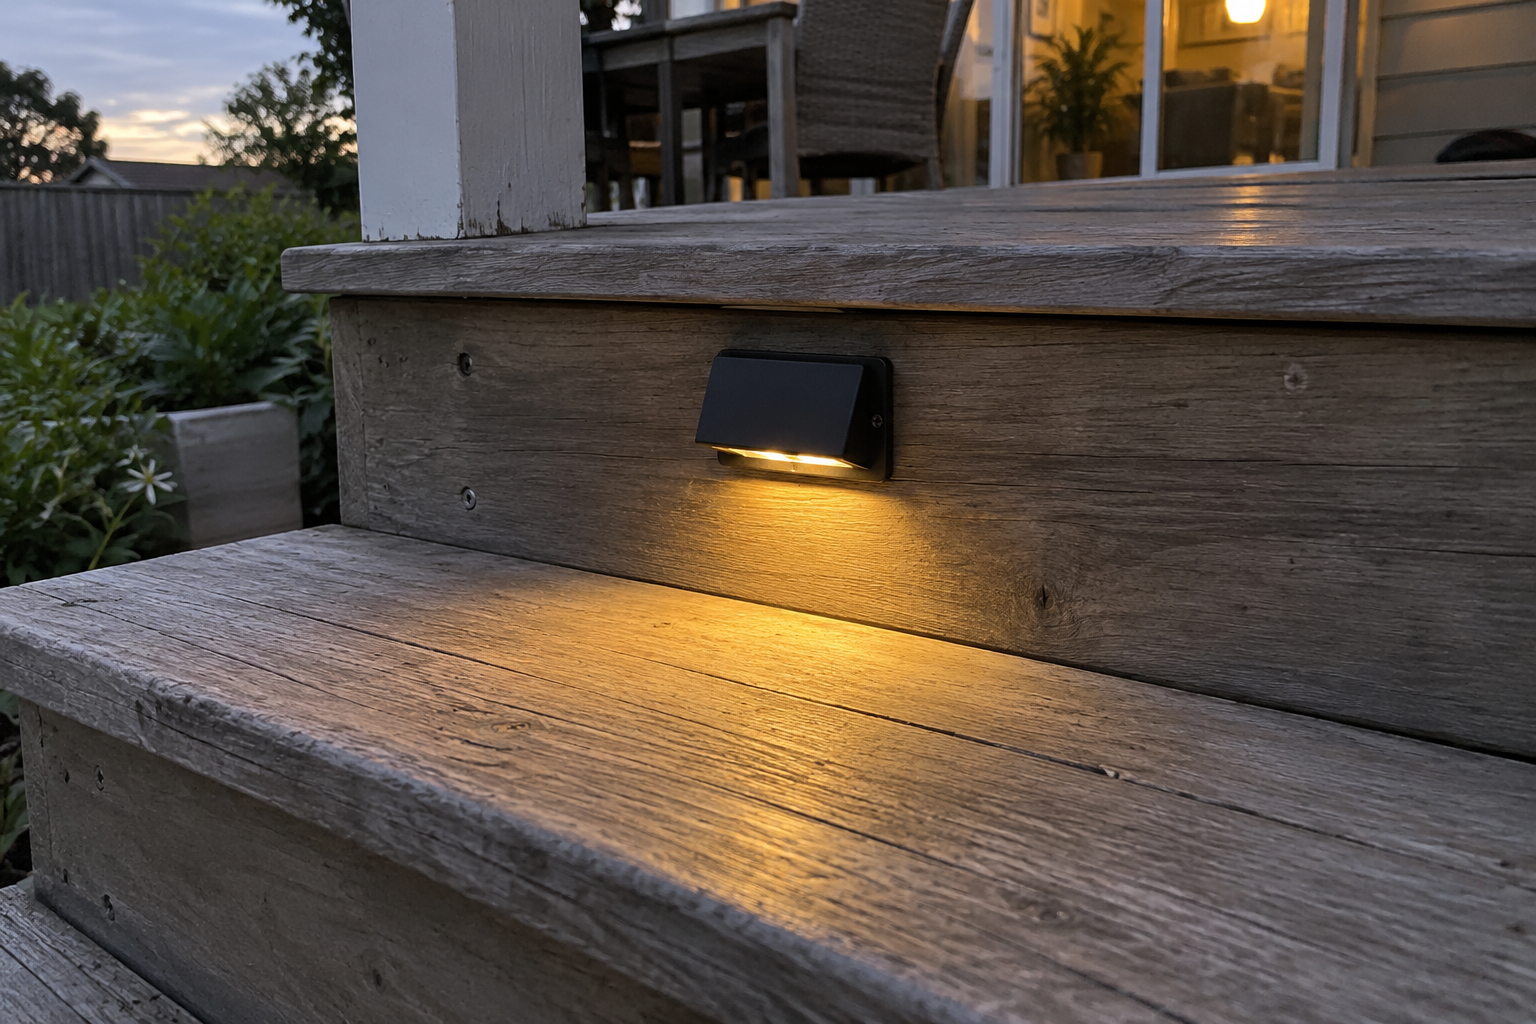
Fit the lights without trapping or stretching their leads. Make the extra-low-voltage connections using the supplied or approved compatible parts, with the power disconnected. Keep seals clean and properly seated.
Do not substitute tape for a specified weatherproof joint or mix connector systems because they appear to fit. Observe polarity where required and use the manufacturer’s end caps on unused outlets.
If strip lighting is part of the kit, only cut it at approved points and only where the instructions permit. Cutting an outdoor strip can compromise its sealing unless the specified termination method is followed.
Step 8: test the finished installation
Reconnect the supply and check every light, controller and sensor. Repeat the walk-through after dark from both directions. Make sure cables are supported, connections remain accessible and there are no protruding fittings or trip hazards.
If lights flicker, fail to start or behave inconsistently, disconnect the system and check the permitted troubleshooting steps. Do not keep increasing supply capacity or replacing fuses without identifying the problem. Have faults beyond the kit’s user checks assessed professionally.
Keep it reliable
Save a simple layout, model numbers and the instructions. Periodically check for damaged leads, loose fittings, debris and moisture, following the maintenance guidance. Disconnect the supply before cleaning or adjusting components.
Before buying, send Future Lighting your deck dimensions, step count and proposed cable route. Those details help turn a product choice into a workable lighting plan.
Planning resources
Manufacturer-designed systems vary. Follow the instructions supplied with your chosen kit for compatible accessories, cable limits, mounting clearances and permitted installation methods. Refer to the electrical safety guidance above when deciding which work needs a licensed electrician.
Images are original AI-generated illustrations of lighting applications.