

To size a transformer for lighting, you need to know what your lights require and how much power the complete run will use. Choosing the biggest unit on the shelf is not a substitute for matching the right voltage, output type and installation conditions.
A little planning here can prevent flickering, nuisance shutdowns and an expensive second purchase. Start with the light specifications, then work through the load, supply capacity and cable layout.
First, check whether you need a transformer or an LED driver
“Transformer” is often used as a general name for the box that powers garden lights. In practice, the output can differ. A traditional transformer may supply AC. An electronic LED power supply commonly supplies DC. A light must be compatible with the output you choose.
Many LED strips and garden fittings use a constant-voltage supply, such as 12V DC or 24V DC. Other fittings need a constant-current driver with a specific current and operating voltage range. You cannot select those by following a constant-voltage wattage calculation alone.
This guide’s worked examples are for constant-voltage DC lighting. If your fitting specifies milliamps and a driver range, ask the supplier to match its driver instead. For an AC system, follow its specified transformer capacity and compatibility guidance.
Step 1: add up the lighting load
For individual fittings, multiply the number of lights by the wattage of each fitting. Six 4W garden lights need 24W. Four 2W step lights add 8W. Together, the example lighting load is 32W.
For LED strip, multiply watts per metre by the installed length. Five metres rated at 9.6W per metre gives 48W. Use the manufacturer’s maximum input requirement, including the appropriate operating mode for colour-changing strip.
Include any controller consumption or other load on that same supply where specified. Keep the calculation in a simple list with model numbers so you can update it if the layout changes. Do not substitute lumens, “equivalent wattage” or a brightness setting for the electrical input rating.
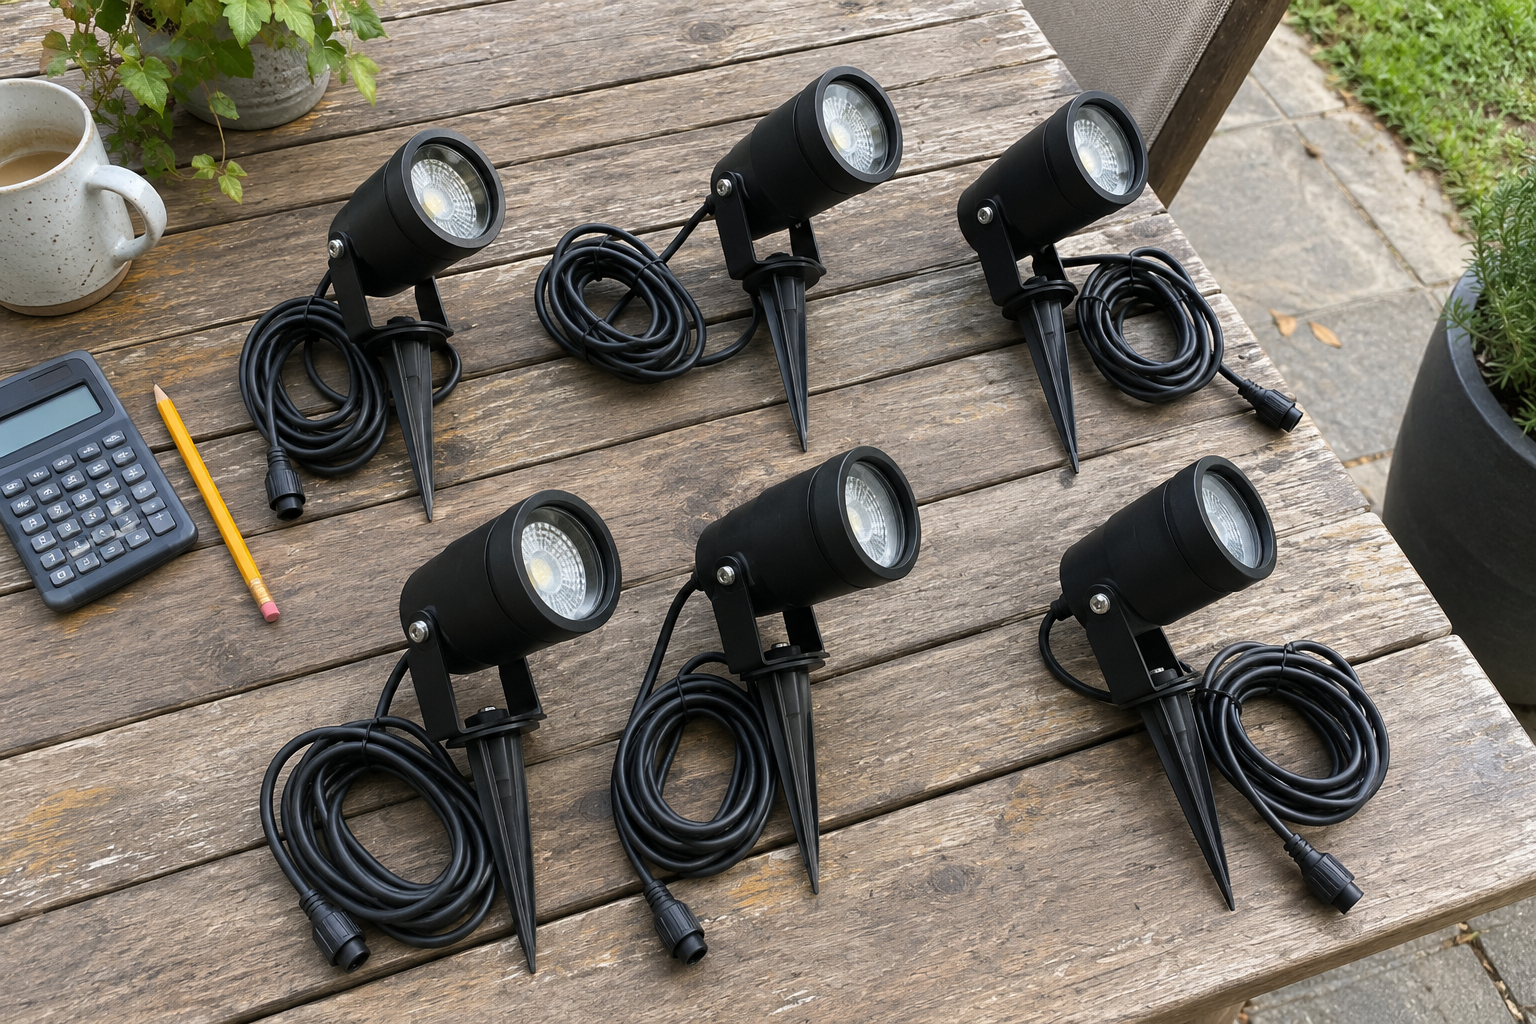
Step 2: allow appropriate capacity
The supply must support the complete load under the conditions where it will operate. As a planning example, allowing a 32W load to use 80% of a supply’s rated output gives 32 ÷ 0.8 = 40W. This is a design allowance, not a universal legal rule or a guarantee that every 40W product is suitable.
Follow the supply manufacturer’s loading and temperature guidance. Some equipment supports its full rated load within specified conditions; some requires derating as temperature rises. An enclosure, direct sun or poor ventilation can change the available capacity.
Also include realistic future additions. If you expect another 12W of lights, calculate for 44W now. At the same illustrative 80% loading, that would require 55W before selecting an appropriate available model. Buying capacity for a sensible plan is more useful than adding an arbitrary oversized supply.
Step 3: check output current as well as watts
For a constant-voltage DC supply, output power equals voltage multiplied by available current. A unit rated 24V DC and 2.5A provides 60W of rated output. A 48W lighting load at 24V requires approximately 2A at its nominal operating point.
The controller, connectors and individual cable branches must also handle their loads. A supply with plenty of spare watts does not make a small connector or an undersized branch safe. Check any per-channel limits on multi-channel controllers.
A higher current rating on an otherwise compatible constant-voltage supply does not automatically force that current into the lights. It describes available capacity. Correct voltage, protection, load compatibility and the manufacturer’s instructions remain essential.
Step 4: account for cable length
A correctly sized supply can still feed a poorly designed run. Long or thin cables lose voltage, and the last fittings may receive less than they need. Increasing the supply’s wattage without changing its output voltage does not remove cable resistance.
Measure the actual route, including bends, rises and the distance from the supply to the first fitting. Then check the cable size and load along each section. Shorter branches or a better supply location may be more effective than one long run.
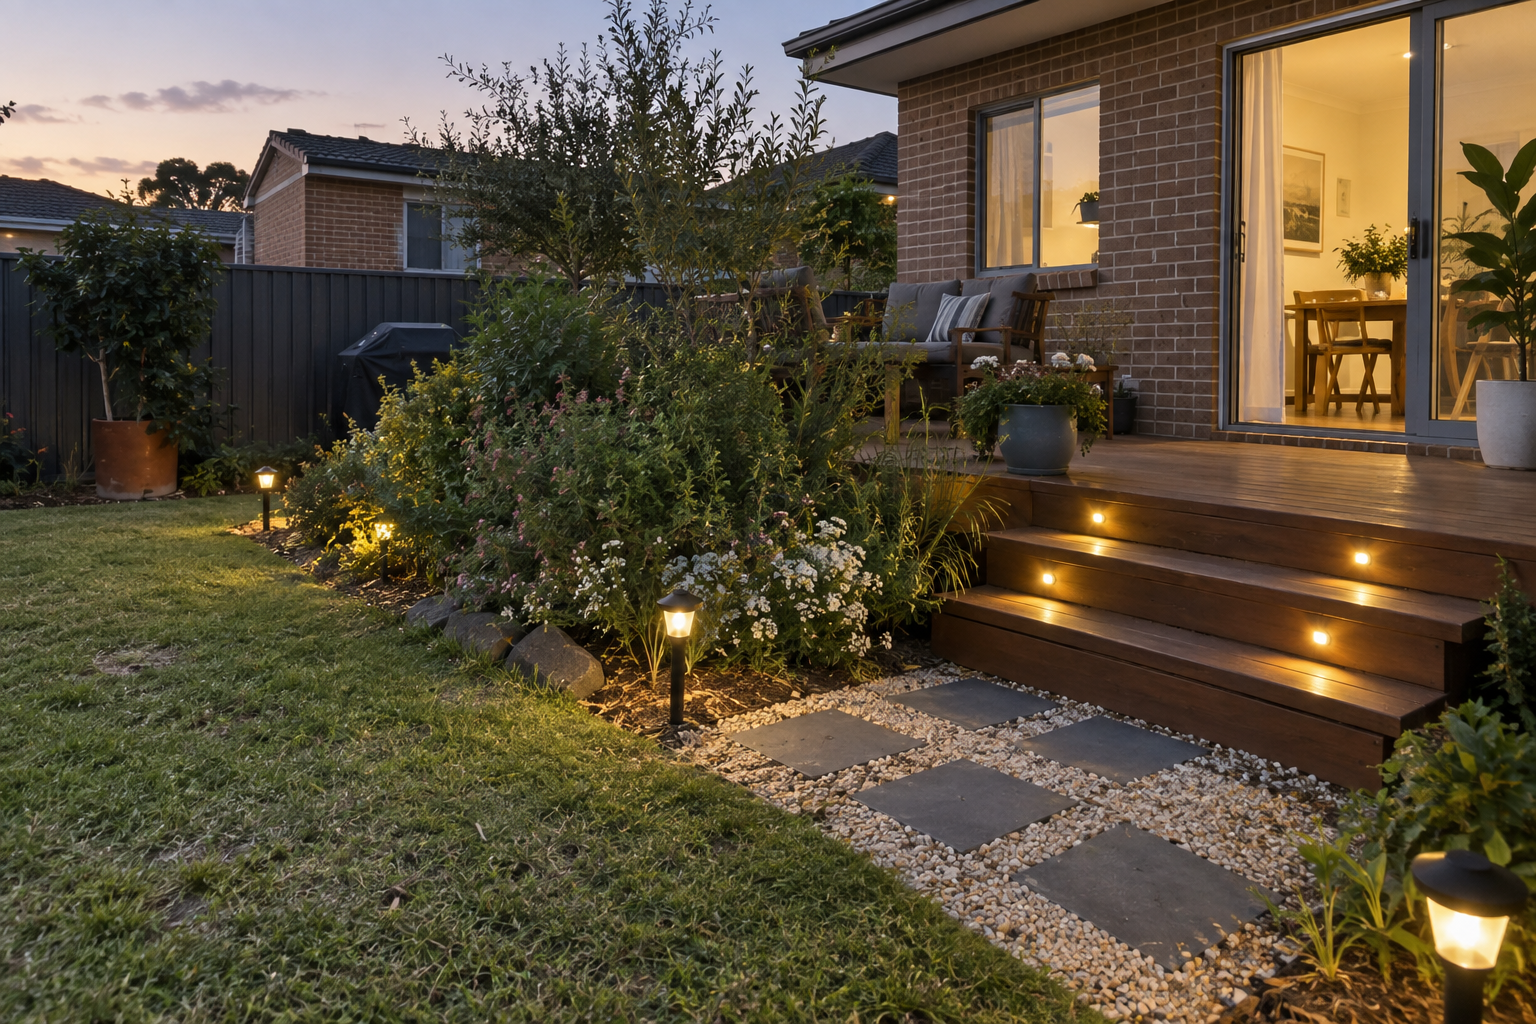
Step 5: choose a suitable installation location
Check whether the supply is intended for indoor use, sheltered outdoor use or direct exposure. Its ingress-protection rating is only part of the decision. Mounting orientation, ventilation, ambient temperature and the treatment of cable entries also matter.
Keep the unit accessible for inspection and replacement. Do not bury it, wrap it in insulation or put it in an unventilated box unless the manufacturer specifically permits that arrangement. The cable connections need protection suited to their location too.
For a straightforward DIY project, choose a complete plug-in kit intended for that use. Any new power point, mains wiring or hardwired supply connection belongs with a licensed electrician. Do not open a sealed supply to modify it.
A worked buying example
Suppose you want eight 3W path lights and four 2W step lights. The lights total 32W. All are specified for 24V DC constant-voltage operation. Your supplier confirms a compatible controller and suitable cable arrangement.
An illustrative 40W minimum from the 80% calculation is only the starting point. You would then check the selected supply’s actual loading instructions, outdoor installation requirements and any controller demand. A suitable larger standard model may be appropriate, especially if you have a planned extension.
Can an old halogen transformer run new LEDs?
Sometimes, but do not assume so. Output type, minimum load, dimming behaviour and the LED manufacturer’s compatibility requirements can make an old transformer unsuitable. Ask for confirmation using both model numbers before reusing it.
Before you place the order
To size a transformer with confidence, have the fitting list, total watts, required voltage and output type ready. Add the longest cable route, intended supply location and any future additions. Send those details to Future Lighting if you want help checking a proposed combination.
Technical references
Check the instructions and data sheet supplied with your chosen power supply for its loading limits, temperature derating and installation requirements. Match those requirements to the lights, controller and cable layout before ordering.
Images are original AI-generated illustrations of lighting applications.
[…] covered that separately in our buying guide, and when you’re ready to size a transformer, that guide is the next job on the […]